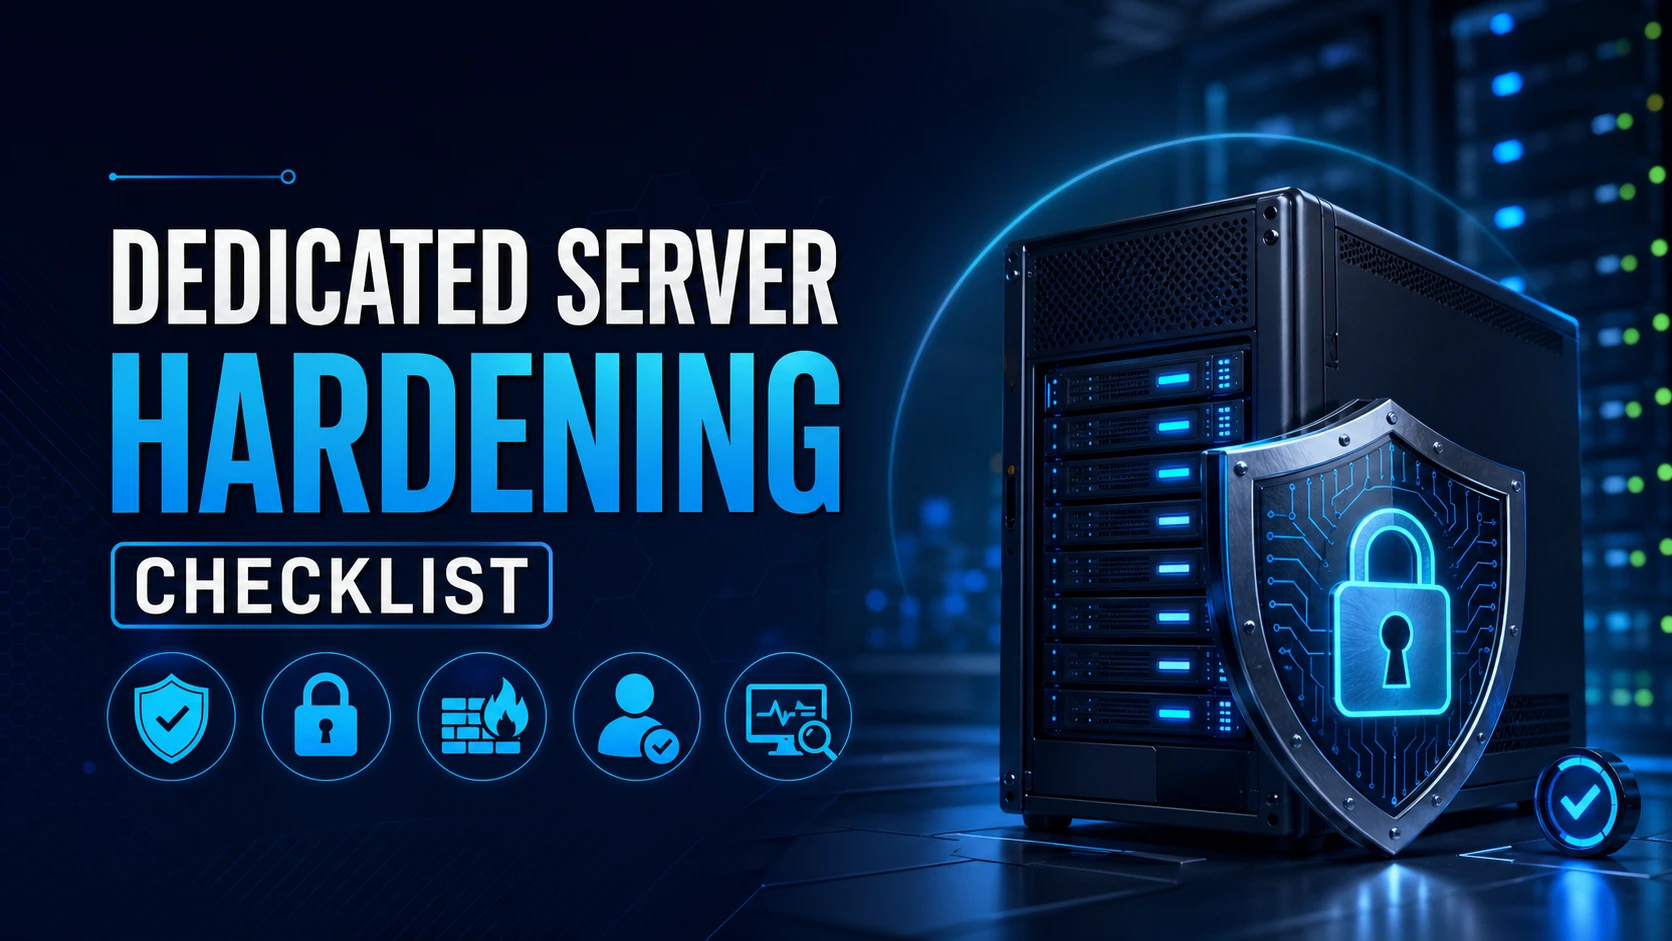
Whether you're running a high-traffic e-commerce platform, a game hosting environment, or enterprise applications, your bare metal dedicated server is only as strong as the security measures protecting it. One misconfigured service can expose everything: customer data, business logic, and infrastructure access, to attackers who scan for vulnerabilities around the clock.
This dedicated server hardening checklist gives you a practical, prioritized roadmap to lock down your physical server from the ground up. No fluff, no generic advice, just actionable steps tested in real-world hosting environments.
Why Dedicated Server Security Requires a Different Approach
Shared hosting and cloud VMs abstract many security concerns from the user. With a dedicated server, you own the full hardware layer. That means you also own full responsibility for every open port, every running process, and every user account on the machine.
Bare metal server security is distinct because:
-
There is no hypervisor layer to act as a security boundary
-
The server is often directly accessible via public IP
-
Root-level access compromises mean total system exposure
-
Physical co-location environments introduce additional attack surfaces (IPMI, out-of-band management)
Getting server hardening right on day one, and keeping it current, is the difference between a resilient hosting environment and a breach waiting to happen.
The 10-Step Dedicated Server Hardening Checklist for 2026
Step 1: Start With Minimal OS Installation and Immediate Patching
The foundation of any secure dedicated server is a lean, patched operating system.
When provisioning your bare metal server, always start with a minimal OS installation. Every package that isn't installed is a package that can't be exploited. Ubuntu Server, Debian, Rocky Linux, and AlmaLinux all offer minimal base images designed for server environments.
What to do immediately after OS install:
-
Run a full system update (
apt upgrade -y/dnf update -y) -
Enable automatic security updates for critical patches
-
Remove unused default packages and services
-
Disable unnecessary kernel modules
Unpatched operating systems remain the single most common entry point for server intrusions. In 2026, automated vulnerability scanners can identify and exploit known CVEs within hours of their public disclosure. Your patch window is narrow.
Tools to use: unattended-upgrades (Debian/Ubuntu), dnf-automatic (RHEL-based), Lynis for OS auditing.
Step 2: Harden SSH Access — The Most Targeted Service on Any Server
SSH is the administrative lifeline of your dedicated server and the number-one target for brute-force attacks, credential stuffing, and zero-day exploitation. Hardening SSH configuration is non-negotiable.
SSH hardening checklist:
-
Disable root login: Set
PermitRootLogin noin/etc/ssh/sshd_config -
Change the default port: Changing the SSH port reduces automated scan noise but is not a substitute for proper authentication hardening.
-
Enforce key-based authentication only: Set
PasswordAuthentication no -
Use Ed25519 (preferred) or RSA 3072/4096. Avoid DSA. Use ECDSA only with strong curves (e.g., nistp256) if required.
-
Restrict login to specific users or groups: Use
AllowUsersorAllowGroups -
Set idle timeout: Configure
ClientAliveInterval 300andClientAliveCountMax 2 -
Limit authentication attempts: Set
MaxAuthTries 3 -
Disable X11 forwarding unless explicitly needed
For teams managing multiple dedicated servers, consider deploying a bastion host (jump server) architecture to centralize and audit all SSH access.
Pro tip from KW Servers: After changing your SSH port, always verify you can reconnect before closing your existing session. Locking yourself out of a remote bare metal server means a support ticket and potential downtime.
Step 3: Configure a Host-Based Firewall with Strict Ingress and Egress Rules
A properly configured firewall is the most visible layer of dedicated server hardening. However, most server administrators focus only on inbound rules and ignore outbound (egress) filtering — a significant oversight.
Firewall setup best practices: Default deny everything, then explicitly allow:
ufw default deny incoming
ufw default deny outgoing
ufw allow out 53 # DNS
ufw allow out 80 # HTTP (for package managers)
ufw allow out 443 # HTTPS
ufw allow in 443 # Your application
ufw allow in [SSH_PORT] from [YOUR_IP]
Key rules for bare metal server security:
-
Block all access to IPMI/BMC interfaces from the public internet
-
Restrict database ports (3306, 5432, 6379) to localhost or private VLAN only
-
Whitelist management IPs for SSH, RDP, and control panel access
-
Log dropped packets for forensic analysis
-
Review and tighten rules quarterly
Firewall tools for dedicated servers: nftables (modern, high-performance), iptables, UFW (simplified front-end), Firewalld.
For dedicated servers in a data center environment, supplement host-based firewalls with network-level filtering at the rack or colocation switch level. This defense-in-depth approach ensures that even if a firewall rule is misconfigured, lateral movement within the facility network is still restricted.
Step 4: Implement Two-Factor Authentication Across All Administrative Access Points
Password-based authentication alone is insufficient for any system holding production workloads. Two-factor authentication (2FA) adds a second verification layer that stops credential theft attacks cold.
Where to enforce 2FA on a dedicated server:
-
SSH logins (via libpam-google-authenticator or hardware tokens like YubiKey)
-
Web-based control panels (WHM/cPanel, Plesk, ISPConfig)
-
Server management dashboards
-
IPMI/iDRAC/iLO out-of-band management interfaces
-
VPN connections used for server access
TOTP vs. hardware tokens: Time-based one-time passwords (TOTP) via apps like Authy or Google Authenticator are practical for most operations teams. For high-security environments managing critical infrastructure, FIDO2 hardware security keys offer phishing-resistant authentication that TOTP cannot match.
Multi-factor authentication is one of the highest-ROI security controls available. The time cost of implementation is measured in hours; the risk reduction is substantial.
Step 5: Set Up Intrusion Detection and Real-Time Log Monitoring
You cannot defend what you cannot see. Dedicated server intrusion detection gives you visibility into suspicious activity before it becomes a breach.
Host-based intrusion detection systems (HIDS) to deploy:
-
AIDE (Advanced Intrusion Detection Environment): Creates cryptographic checksums of critical system files; alerts on unauthorized changes
-
OSSEC / Wazuh: Open-source HIDS with real-time log analysis, rootkit detection, and active response
-
Fail2Ban: Monitors log files and automatically bans IPs after repeated failed authentication attempts
Critical log files to monitor on every dedicated server:
| Log File | What It Captures |
|---|---|
| /var/log/auth.log | SSH logins, sudo usage, authentication failures |
| /var/log/syslog | General system events |
| /var/log/kern.log | Kernel-level events |
| /var/log/nginx/access.log | Web server access patterns |
| /var/log/fail2ban.log | Banned IPs and trigger events |
| /var/log/audit/audit.log | Auditd system call tracking |
Centralized logging: For environments with multiple dedicated servers, ship logs to a centralized SIEM (Security Information and Event Management) system. Wazuh, Graylog, and the ELK Stack are widely used open-source options. Centralized log storage also protects log integrity — an attacker who compromises a server will often attempt to clear local logs first.
Step 6: Enforce the Principle of Least Privilege for Users and Services
Every user account, application, and system service on your dedicated server should operate with only the permissions it strictly requires. This principle of least privilege (PoLP) is foundational to limiting the blast radius of any compromise.
User and permission hardening:
-
Audit all user accounts: Remove unused accounts immediately (
awk -F: '($3 >= 1000 && $1 != "nobody") {print}' /etc/passwd) -
Restrict sudo access: Assign specific commands rather than unrestricted
ALLaccess in/etc/sudoers -
Set strong password policies: Use
pam_pwqualityto enforce length, complexity, and history requirements -
Lock inactive accounts: Automatically disable accounts inactive for 30+ days
-
Use separate service accounts: Never run web servers, databases, or application processes as root
File system permissions:
-
Audit SUID/SGID binaries:
find / -perm /6000 -type f 2>/dev/null -
Restrict world-writable directories
-
Set umask 027 or stricter in
/etc/profile -
Use ACLs (Access Control Lists) for granular file access management
Containerization and isolation: Where possible, run services in containers (Docker, LXC) or use systemd sandboxing features (PrivateTmp, NoNewPrivileges, ProtectSystem) to isolate processes from the host system even on a bare metal server.
Step 7: Secure the Kernel With Sysctl Hardening and AppArmor/SELinux
The Linux kernel exposes many configuration parameters that affect security behavior. Sysctl hardening adjusts these parameters to reduce attack surface at the kernel level.
Essential sysctl settings for server security
(/etc/sysctl.conf):
net.ipv4.ip_forward = 0
# Prevent SYN flood attacks
net.ipv4.tcp_syncookies = 1
net.ipv4.tcp_max_syn_backlog = 2048
# Ignore ICMP redirects
net.ipv4.conf.all.accept_redirects = 0
# Disable IPv6 if not used
net.ipv6.conf.all.disable_ipv6 = 1
# Disable source routing
net.ipv4.conf.all.accept_source_route = 0
# Enable reverse path filtering
net.ipv4.conf.all.rp_filter = 1
# Restrict kernel pointer exposure
kernel.kptr_restrict = 2
# Limit dmesg access
kernel.dmesg_restrict = 1
# Disable core dumps for SUID programs
fs.suid_dumpable = 0
# Protect against /proc info leaks
kernel.perf_event_paranoid = 3
Mandatory Access Control (MAC):
-
AppArmor (default on Ubuntu/Debian): Profile-based MAC that restricts what files and capabilities each application can access
-
SELinux (default on RHEL/Rocky/AlmaLinux): Policy-based MAC with fine-grained labels for files, processes, and ports
Both systems provide an additional containment layer that operates independently of standard Unix permissions. Even if an application is exploited, MAC enforcement limits what an attacker can do with that access.
Step 8: Harden Network Services — TLS, DNS, and Exposed Application Ports
Every network service running on your dedicated server is a potential attack surface. Hardening these services means auditing what's exposed, how it communicates, and whether its configuration meets current security standards.
TLS/SSL hardening: Modern TLS configuration should:
-
Use TLS 1.2 minimum; TLS 1.3 preferred
-
Disable SSLv2, SSLv3, TLS 1.0, and TLS 1.1 entirely
-
Use strong cipher suites (ECDHE for forward secrecy)
-
Implement HTTP Strict Transport Security (HSTS) with long max-age
-
Enable OCSP stapling for certificate validation performance
-
Automate certificate renewal with Let's Encrypt / Certbot or your CA
Use the Mozilla SSL Configuration Generator and test your configuration with Qualys SSL Labs (target an A+ rating).
DNS security:
-
Use DNS-over-TLS or DNS-over-HTTPS for resolver queries
-
Enable DNSSEC for your hosted domains
-
Restrict zone transfers to authorized secondary nameservers only
-
Consider split-horizon DNS for internal vs. external resolution
Application port audit: Run a regular self-scan with
ss -tlnp (internal) and nmap (external) to confirm only
intended services are publicly accessible. Any port visible to the internet that doesn't
need to be is an unnecessary risk. Close it.
Step 9: Establish Encrypted Backups and a Tested Disaster Recovery Plan
Security hardening is not complete without a backup strategy. Ransomware, accidental deletion, hardware failure, and destructive attacks all require the same response: a clean, recent backup you can restore with confidence.
Backup best practices for dedicated servers:
-
3-2-1 rule: 3 copies of data, on 2 different media types, with 1 copy offsite
-
Encrypt all backups: Use AES-256 encryption before backup data leaves your server
-
Test restores regularly: A backup you haven't restored from is a backup you don't actually have
-
Automate and monitor: Backup jobs that fail silently are worse than no backup at all
-
Separate backup credentials: The account used to write backups should not have permission to delete them (immutable backup storage)
Backup tools for bare metal servers:
-
Restic: Fast, encrypted, deduplicated backups to any storage backend
-
BorgBackup: Efficient deduplication with encryption; excellent for large data volumes
-
Bacula / Amanda: Enterprise-grade backup solutions for multi-server environments
-
rsync + GPG: Simple, scriptable solution for smaller deployments
Disaster recovery planning: Document your recovery time objective (RTO) and recovery point objective (RPO) before an incident occurs. Know exactly which steps restore each service, and assign ownership. A disaster recovery plan that lives only in one person's head is a single point of failure.
Step 10: Schedule Regular Security Audits, Vulnerability Scans, and Compliance Reviews
Dedicated server hardening is not a one-time checklist, it's an ongoing operational discipline. New vulnerabilities emerge daily. Software versions go out of support. Configuration drift occurs. Teams change. Threats evolve.
Regular security maintenance cadence:
| Frequency | Activity |
|---|---|
| Daily | Review intrusion detection alerts and failed login reports |
| Weekly | Check for OS and application security updates |
| Monthly | Review user accounts, firewall rules, and running services |
| Quarterly | Full vulnerability scan, firewall rule audit, SSL certificate review |
| Annually | Penetration test, disaster recovery drill, full security policy review |
Vulnerability scanning tools:
-
Lynis: Local system audit and hardening guidance tool (free, open-source)
-
OpenVAS / Greenbone: Full-featured network vulnerability scanner
-
Nessus Essentials: Industry-standard scanner (free for limited use)
-
Trivy: Container and OS vulnerability scanning
Compliance frameworks relevant to dedicated server operators:
-
CIS Benchmarks: The gold standard for OS and application hardening baselines (CIS Ubuntu, CIS RHEL, CIS Nginx, CIS MySQL)
-
PCI DSS: Required if you process payment card data
-
SOC 2: Relevant for SaaS providers and managed hosting operations
-
ISO 27001: International information security management standard
-
GDPR / PDPA: Data protection obligations based on your users' geography
Align your hardening checklist with the relevant CIS Benchmark for your OS. These benchmarks are maintained by security professionals, reflect current threat intelligence, and provide a defensible compliance baseline.
Quick-Reference: Dedicated Server Hardening Checklist Summary
Use this as your go-to reference when provisioning or auditing a bare metal server:
OS and Patching
-
Minimal OS installation with no unnecessary packages
-
Automatic security updates enabled
-
Full system update applied immediately after provisioning
Access Control
-
SSH root login disabled; key-based authentication only
-
SSH on non-default port with IP whitelisting
-
2FA enabled on SSH and all management interfaces
-
Principle of least privilege enforced for all accounts and services
Network Security
-
Host-based firewall with a default-deny policy
-
IPMI/BMC management interface isolated from the public internet
-
TLS 1.2+ enforced; legacy protocols disabled
-
Regular port audit to confirm minimal exposure
Monitoring and Detection
-
Fail2Ban or equivalent brute-force protection is active
-
HIDS (AIDE, Wazuh, or OSSEC) deployed
-
Centralized log aggregation configured
-
Real-time alerting for critical security events
Kernel and System Hardening
-
Sysctl parameters hardened
-
AppArmor or SELinux enforced
-
SUID/SGID binary audit completed
-
Core dumps disabled for privileged processes
Backup and Recovery
-
Encrypted offsite backups configured and tested
-
Disaster recovery plan documented and assigned
-
Immutable backup storage implemented
Ongoing Maintenance
-
Monthly security review scheduled
-
Quarterly vulnerability scan scheduled
-
CIS Benchmark alignment verified
Common Dedicated Server Security Mistakes to Avoid
Even experienced administrators make predictable mistakes when hardening servers. Watch out for these:
-
1. Leaving IPMI/iDRAC/iLO exposed to the internet. Out-of-band management interfaces are powerful tools and high-value targets. They should be on a dedicated management VLAN, never the public internet.
-
2. Reusing SSH keys across multiple servers. A compromised key compromises every server it's authorized on. Rotate keys periodically and use unique key pairs per environment.
-
3. Ignoring egress filtering. Outbound rules matter. Malware and compromised applications often communicate with command-and-control servers. Strict egress rules can prevent data exfiltration and limit attacker capability even after initial compromise.
-
4. Treating hardening as a one-time task. Configuration drift is real. Services get added, rules get relaxed for debugging and never re-tightened, and packages go end-of-life. Build a review cadence into your operations.
-
5. Skipping backup restore testing. Backup failures often go unnoticed until a restore is attempted under pressure. Test restores in a lab environment regularly.
Choosing a Dedicated Server Provider That Supports Your Security Goals
Your hardening efforts are built on the foundation your hosting provider gives you. When evaluating dedicated server providers, look for:
-
DDoS protection at the network edge (not just on-server mitigation)
-
Isolated network infrastructure between tenants in shared colocation environments
-
Remote hands services for physical access without compromising your security posture
-
IPMI/KVM-over-IP access through secured, isolated management networks
-
Regular hardware maintenance and firmware updates, server firmware (BIOS, BMC, NIC) is a frequently overlooked attack surface
At KW Servers, our dedicated server infrastructure is built with isolation, performance, and operational security as first principles. Every bare metal server ships with full root access, private VLAN options, and DDoS-mitigation network coverage, giving your hardening work the right foundation to stand on.
Final Thoughts: Bare Metal Security Is a Practice, Not a Project
Securing a dedicated server in 2026 means defending against automated scanning, credential attacks, supply chain vulnerabilities, firmware exploits, and application-layer threats, often simultaneously. The 10 steps in this checklist aren't a cure-all, but they represent the security baseline every bare metal server should meet before it handles production workloads.
Start with SSH and firewall hardening. Build toward monitoring, kernel hardening, and regular auditing. Document everything. Test your backups. Review your configuration quarterly.
Security is not a one-time deployment; it's a discipline you build into your operations. The servers that stay secure are the ones run by teams who treat hardening as an ongoing practice, not a completed task.
The KW Servers technical team maintains this guide. We update our security content regularly to reflect current vulnerability trends, tool updates, and evolving best practices in dedicated server management and bare metal hosting.
Frequently Asked Questions
What is server hardening, and why does it matter for dedicated servers?
Server hardening is the process of reducing a system's attack surface by configuring security controls, removing unnecessary services, and applying security best practices. For dedicated servers, hardening matters because the administrator has full control and full responsibility for every layer of the system, from the OS to the network stack.
How often should I audit my dedicated server security configuration?
At a minimum, perform a security audit quarterly. High-security environments should review configurations monthly and immediately after any significant system changes, new software deployments, or security incidents.
Is a dedicated server more secure than a VPS?
A dedicated server gives you sole use of physical hardware, eliminating hypervisor-layer attack vectors present in virtualized environments. However, security ultimately depends on configuration. A poorly hardened dedicated server is less secure than a well-configured VPS. The hardware isolation is an advantage; it's not a substitute for proper hardening.
What is the most important step in server hardening?
If forced to prioritize, SSH hardening (Step 2) and firewall configuration (Step 3) deliver the greatest immediate risk reduction. SSH is the most targeted service on any internet-facing server, and a properly configured firewall limits what attackers can reach in the first place.
What Linux distribution is best for a secure dedicated server?
All major enterprise distributions, Ubuntu Server LTS, Debian, Rocky Linux, AlmaLinux, are viable choices. What matters more than distribution is your patch cadence, configuration discipline, and whether you use the CIS Benchmark for your chosen OS as your hardening baseline.