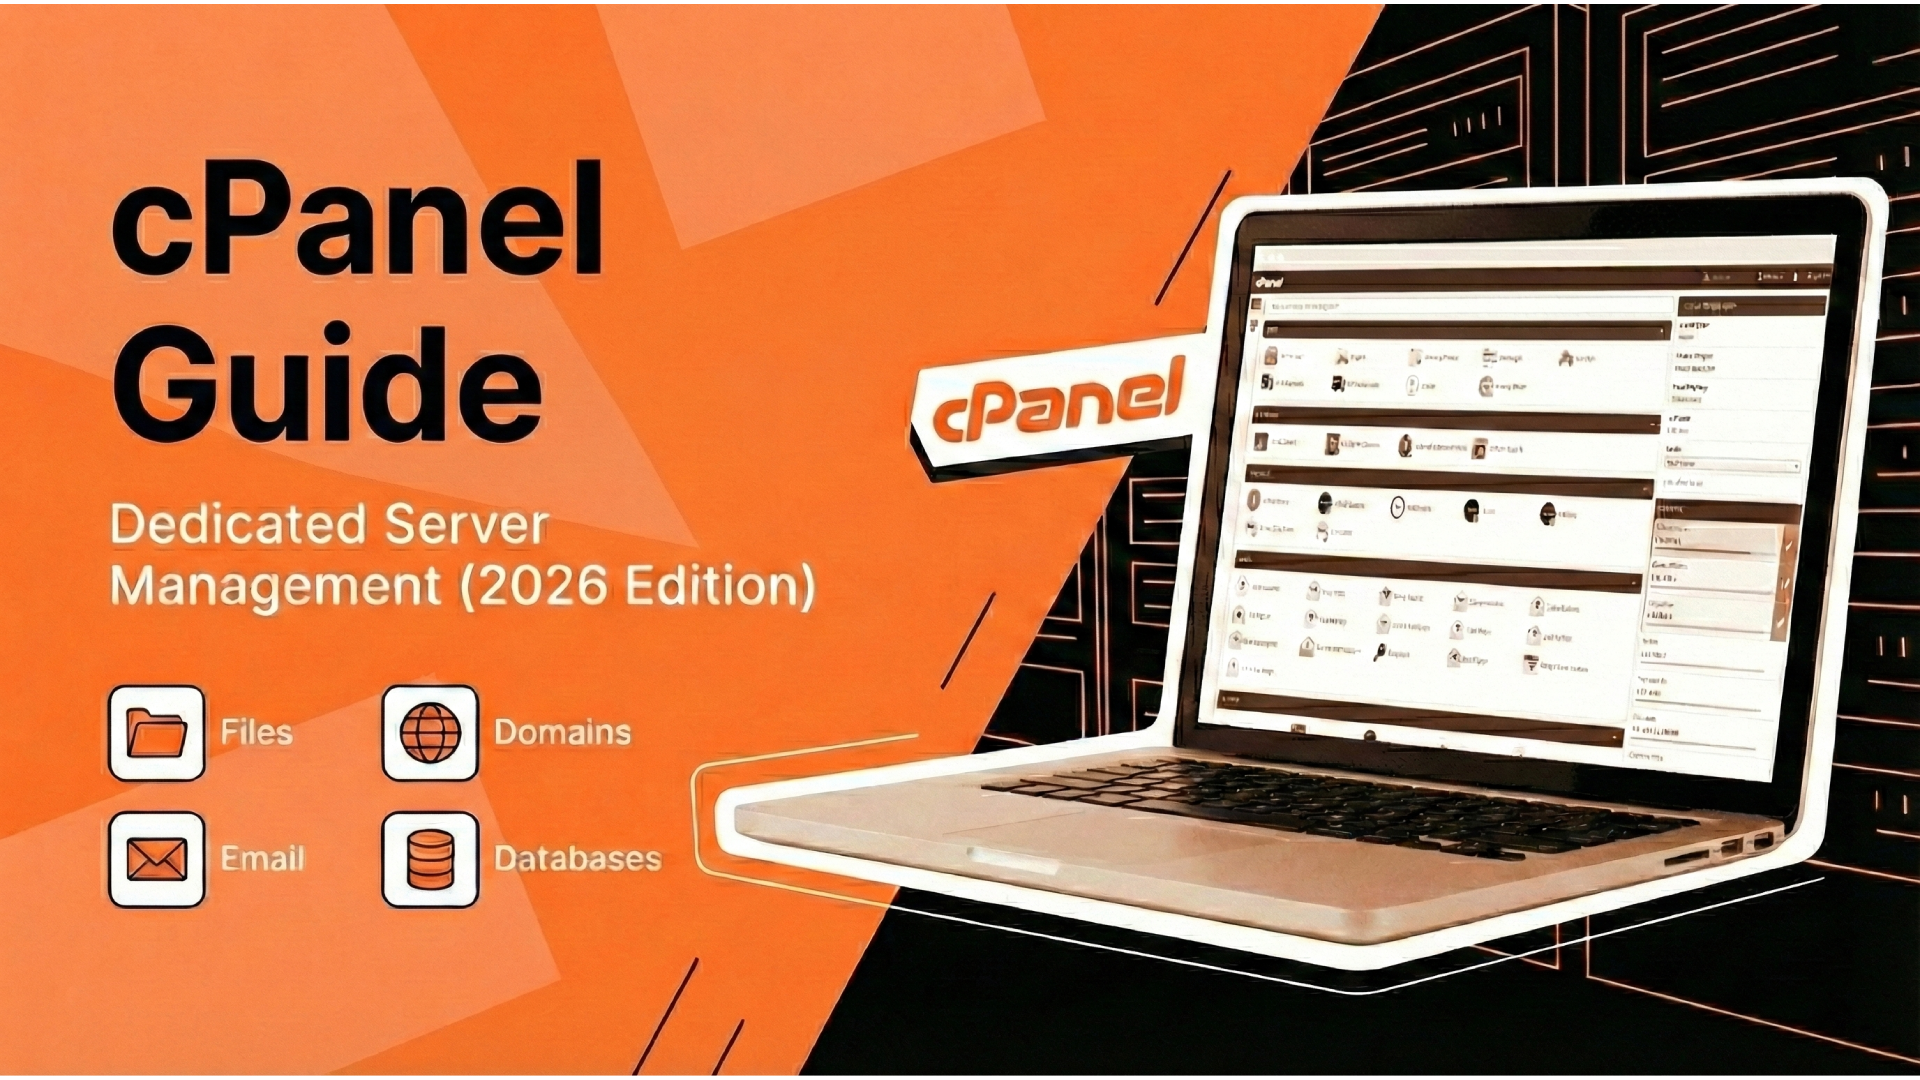
At KW Servers, we provide high-performance dedicated hosting hardware, but effectively managing that power requires the right software. cPanel currently runs on 70% of all web servers worldwide. It is the industry-standard control panel you will encounter when logging into most web servers, whether you are running a personal blog or managing complex client websites.
In this comprehensive cPanel tutorial, we will guide you through every essential feature—from file uploading and domain management to email configuration, database administration, and backup handling.
What You'll Learn
cPanel File Manager Tutorial
Check Server Bandwidth Usage
Monitor Disk Space Usage
Enable Two-Factor Authentication (2FA)
Add Multiple Domains (Addon Domains)
Create Subdomains
Park Domains Using Aliases
Edit DNS Zone Records
Add SRV Records
Create MySQL Databases
Enable Remote MySQL Access
Set Up Professional Email Accounts
Use Site Publisher for Quick Websites
Backup Website Files and Databases
Optimize Website with GZIP Compression
Create Custom Error Pages
Set Up cPanel Proxy (Fix Dynamic IPs)
Create Cron Jobs
1. cPanel File Manager Tutorial
The cPanel File Manager handles everything a traditional FTP client does, directly within your browser. It is the quickest way to upload files, extract archives, edit code, and set file permissions.
You can find it under the Files section in your cPanel dashboard. Clicking it opens a window split into two areas: a folder tree on the left and the file contents on the right.
-
The
public_htmlfolder: This is your "home base" (document root). Everything placed here appears on your live website. -
System folders: Other folders exist for server configuration. Avoid modifying these unless you have advanced server knowledge.
How to Navigate
-
Folder Tree: Click folders on the left to view contents.
-
Path Bar: Use the top bar to jump directly to specific directories.
-
Reload: Hit Reload to refresh the view after operations.
Essential File Operations
-
Upload Files: Drag files directly into the browser window or click Upload to browse your local computer.
-
Extract Archives: Right-click any
.zipfile and choose Extract to unpack contents immediately. -
Edit Code: Right-click HTML/PHP/Text files and select Edit to open the built-in code editor.
-
Change Permissions: Right-click a file and choose Permissions to set read/write/execute access levels.
-
Copy/Move: Select files and use the toolbar buttons to duplicate or relocate data.
While not as robust as FileZilla for massive transfers, the built-in File Manager handles 90% of daily webmaster tasks, making it a superior choice for quick edits.
2. Check Server Bandwidth Usage
Effective bandwidth monitoring is crucial for dedicated server management. It tracks how much data flows through your KW Server; every visitor, email, and FTP transfer counts toward your monthly quota.
cPanel displays a summary on the main dashboard under Statistics. For a deep dive, click the Bandwidth link. You will see traffic broken down into three categories:
-
HTTP Traffic: Data from website visitors and page loads.
-
FTP Traffic: Data from file uploads and downloads.
-
Email Traffic: Volume of messages sent and received.
The graphs allow you to analyze usage by day, week, or month. If you are approaching your limit, these reports reveal exactly which service is consuming resources.
Bandwidth Alerts: cPanel sends automated emails at 80%, 90%, and 98% capacity. Monitor these closely; exceeding your quota can result in site throttling or overage charges.
3. Monitor Disk Space Usage
Disk usage analysis tracks every byte on your account: website files, database tables, and email archives. View your storage quota snapshot on the dashboard, or click Disk Usage under the Files section for a granular report.
Expand folders using the arrow icons to identify exactly what is consuming space. Common issues include hidden backup archives, years of old emails, or unchecked database logs.
Storage Warning Levels:
-
80% Capacity: You receive a warning email.
-
100% Capacity: The server blocks file uploads and incoming emails.
How to Free Up Disk Space:
-
Delete old backup files you no longer need.
-
Clear out email accounts with large attachments.
-
Empty database logs that have grown unchecked.
-
Compress uploaded media files.
Click any folder in the list to open it immediately in the File Manager for cleanup.
4. Enable Two-Factor Authentication (2FA)
Server security is a priority at KW Servers. Two-Factor Authentication (2FA) secures your cPanel login with time-based codes. Even if a hacker steals your password, they cannot access your server without your physical device.
-
Search for Two-Factor Authentication in the cPanel search bar.
-
Click Set Up Two-Factor Authentication.
-
Scan the displayed QR code using an auth app like Authy, Google Authenticator, or Microsoft Authenticator.
-
The app will generate a six-digit token that refreshes every 30 seconds.
-
Enter the current token in cPanel and click Configure Two-Factor Authentication.
Once enabled, logging into cPanel requires both your password and the dynamic code.
Security Tip: Save your backup codes. If you lose your phone, these codes are your only method of recovery. Print them and store them physically; do not save them in a password manager on the same device.
5. Add Multiple Domains (Addon Domains)
Addon domains allow you to host multiple distinct websites from a single cPanel account. Each domain operates with its own folder, content, and branding.
-
Open the Addon Domains tool.
-
Enter your new domain name (e.g.,
newsite.com) in the New Domain Name field. -
Subdomain/Document Root: cPanel auto-fills these. Keep the defaults unless you are hosting domains with identical names (e.g.,
.comvs.net). -
FTP Account Setup:
-
Self-managed? Skip this step.
-
Client-managed? Create a separate FTP account so the user can only access their specific folder.
-
-
Click Add Domain.
The domain will appear in your "Modify Addon Domain" list. Simply upload files to the newly created document root folder to go live.
6. Create Subdomains
Subdomains allow you to section off parts of your website, such as
blog.yoursite.com or shop.yoursite.com.
-
Navigate to the Subdomains section.
-
Type the desired prefix (e.g., blog) in the Subdomain field.
-
Select the parent domain from the dropdown menu.
-
cPanel automatically assigns a document root in public_html.
-
Click Create.
Your new section is accessible via subdomain.yoursite.com or
yoursite.com/subdomain. The main domain and subdomain files remain completely separate. To
delete a subdomain, click Remove; note that this removes the DNS entry but leaves the files
in the folder for manual deletion.
7. Park Domains Using Aliases
Domain aliases (formerly "Parked Domains") allow you to point multiple
domain names to the same website. This is ideal for brand protection (e.g., pointing
yoursite.net to yoursite.com).
-
Go to the Aliases tool under Domains.
-
Enter the domain in the Create a New Alias field.
-
Click Add Domain.
To redirect traffic to a specific URL rather than mirroring the main site, click Manage Redirection next to the alias, enter the target URL, and save.
DNS Propagation: DNS changes can take up to 24 hours to propagate globally. It is normal for a parked domain to not resolve instantly.
8. Edit DNS Zone Records
The DNS Zone Editor is the control center for how your domain connects to servers and services. cPanel provides a Simple interface (for A, CNAME, MX records) and an Advanced interface (for full control).
Key DNS Record Types:
-
A Record: Maps your domain hostname to an IPv4 address.
-
CNAME Record: Creates an alias pointing one domain to another (essential for www subdomains).
-
MX Record: Directs email traffic to mail servers. Lower priority numbers take precedence.
Advanced Zone Editor Features:
-
AAAA Records: For IPv6 address mapping.
-
CAA Records: Specifies which Certificate Authorities can issue SSLs for your site.
-
TXT Records: Used for SPF, DKIM, and domain ownership verification.
-
TTL (Time To Live): Controls how fast DNS updates spread. Lower TTL means faster updates but higher server load.
9. Add SRV Records
SRV records are required to point domains to specific services and ports, such as Minecraft servers, TeamSpeak VoIP, or Office 365 protocols.
-
Open the DNS Zone Editor and select your domain.
-
Click the dropdown on "Add Record" and choose Add SRV Record.
-
Required Configuration:
-
Name:
_service._protocol.domain.com(underscores are mandatory). -
Priority: Lower numbers are processed first.
-
Weight: Distributes load between records with equal priority.
-
Port: The specific port number for the service.
-
Target: The hostname of the server running the service.
-
SRV propagation usually takes 15 minutes to 24 hours. Always copy values exactly from your service provider; a single typo will break the connection.
10. Create MySQL Databases
Dynamic websites (like WordPress or Magento) rely on MySQL databases to store content, user data, and comments.
-
Go to MySQL Databases in cPanel.
-
Create Database: Enter a name (no spaces allowed) and click Create Database.
-
Create User: Scroll to "Add New User." Enter a username and generate a secure password. Click Create User.
-
Link User to DB: Under "Add User To Database," select your new database and user. Click Add.
-
Set Privileges: Check ALL PRIVILEGES for admin accounts (or select specific permissions like SELECT/UPDATE for restricted users). Click Make Changes.
Your database is now ready for application installation or data import.
11. Enable Remote MySQL Access
Remote MySQL allows external servers such as remote shopping carts, analytics tools, or local development environments to connect to your KW Server's database.
-
Open Remote MySQL under the Databases section.
-
In the Host field, enter the IP address connecting to your server.
-
Use your public IP for local connections (find it at
whatismyipaddress.com). -
Use
%as a wildcard (e.g.,192.168.1.%) to allow a range of IPs./p>
-
-
Click Add Host.
Security Warning: Be cautious with wildcards. Allowing broad access impacts database security. To revoke access, simply click Delete next to the host IP.
12. Set Up Professional Email Accounts
Creating branded email accounts (e.g., [email protected]) builds
credibility compared to free providers like Gmail.
-
Navigate to Email Accounts and click Create.
-
Input the username and select the correct domain.
-
Set a strong password.
-
Storage Quota: Select "Unlimited" or define a specific limit in megabytes.
-
Click Create.
Check "Send welcome instructions" to receive configuration details (IMAP/SMTP/POP3 ports) for setting up mail clients like Outlook or Apple Mail. Alternatively, access Webmail directly via Roundcube, Horde, or SquirrelMail by clicking Check Email.
13. Use Site Publisher for Quick Websites
Need a landing page fast? Site Publisher creates "Under Construction" or "Coming Soon" pages without any coding.
-
Find Site Publisher under Domains.
-
Choose your domain or subdomain.
-
Select a template (e.g., Basic Info, Countdown).
-
Enter your contact details and click Publish.
Note: Site Publisher is for static placeholders only. It does not
overwrite existing index.html or index.php files (you must delete those first). You cannot
add complex pages or change layouts later.
14. Backup Website Files and Databases
Regular backups are your safety net against data loss. KW Servers recommends maintaining off-site backups. cPanel offers three methods:
-
Full Account Backup: Archives the entire cPanel account (Files, DBs, Email, DNS). Go to Backups > Download a Full Account Backup > Generate Download. This runs in the background.
-
Full Website Backup: Archives only the website data. Open Backup Wizard > Backup > Full Backup. You can save this to the Home Directory, a remote FTP server, or via SCP.
-
Partial Backup: Allows you to download specific components (Home directory, SQL databases, or Email forwarders) individually via the Backup Wizard.
Best Practice: Always download your backup file and store it on a local drive or cloud storage. A backup stored on the same server is useless if the hardware fails.
15. Optimize Website with GZIP Compression
Website optimization is critical for SEO and user experience. Enabling GZIP compression shrinks files before sending them to the browser, significantly improving load times.
-
Go to Optimize Website under Software.
-
Select Compress Specified MIME Types.
-
Paste the following list into the box:
text/html text/plain text/css application/javascript application/json -
Do NOT add image formats (
image/jpeg, image/png) as they are already compressed. -
Click Update Settings.
Your server will now serve compressed content, reducing bandwidth usage and speeding up page loads.
16. Create Custom Error Pages
Replace generic technical errors with custom error pages to keep visitors on your site.
-
Navigate to Error Pages in the Advanced section.
-
Select the domain and the error code:
-
404: Page Not Found.
-
403: Access Forbidden.
-
500: Internal Server Error.
-
-
Enter your custom HTML. You can use tags like to display the referring URL or for the visitor's IP.
-
Save the file.
17. Set Up cPanel Proxy (Fix Dynamic IPs)
If you use a VPN or have a dynamic IP, cPanel may repeatedly log you out. A cPanel proxy solves this by routing traffic through a stable subdomain.
-
Delete the existing
cpanel.yourdomain.comrecord in the DNS Zone Editor. -
Create a new Subdomain named
cpanel. -
Download the cPanel proxy script (available on SourceForge).
-
Upload and extract the proxy ZIP file to the
cpanelsubdomain folder via File Manager. -
Access cPanel via
http://cpanel.yourdomain.com.
The proxy handles the authentication session, ensuring a stable connection regardless of your changing IP address.
18. Create Cron Jobs
Cron jobs allow you to automate server tasks, such as clearing caches or running scheduled scripts.
-
Go to Cron Jobs under Advanced.
-
Configure the timing (Minute, Hour, Day, Month, Weekday).
-
Use
*to mean "every." -
Example:
0 0 * * *runs a task daily at midnight.
-
-
Enter the command path, for example:
php -f /home/YOUR_USERNAME/public_html/cleanup.php -
Click Add New Cron Job.
Conclusion
You have now covered the essentials of cPanel and WHM management for your KW Server. While the dashboard may seem complex initially, mastering these core features, from file management and DNS records to backups and security, covers 90% of the tasks required for successful server administration.
We intentionally skipped the more obscure features to keep this guide focused. You will likely discover those advanced settings as your needs grow. If you discover a unique workflow or have questions about a specific cPanel feature on your dedicated server, reach out to us.
KW Servers Recommended Tutorials

Php, Control Panel, Linux, Dedicated Server, Web
How to Use MultiPHP INI Editor in WHM?
Master the MultiPHP INI Editor in WHM to customize PHP settings per version. This step-by-step guide helps you optimize performance and manage directives with ease using Basic and Editor modes.

Plesk, Control Panel, Web, Network
How to Set NS (Nameserver) Records in Plesk – Step-by-Step Guide
Learn how to configure NS (Nameserver) records in Plesk for seamless DNS management. This guide covers setup, best practices, and troubleshooting to ensure optimal domain resolution and performance.
Control Panel, Dedicated Server, Web, Mysql, Security
What is cPanel? The Complete Guide to Dedicated Server Management (2026)
Master cPanel on your dedicated server. Learn file management, DNS config, email setup, database administration, and security features in this 2026 guide by KW Servers.
Discover KW Servers Dedicated Server Locations
KW Servers servers are available around the world, providing diverse options for hosting websites. Each region offers unique advantages, making it easier to choose a location that best suits your specific hosting needs.